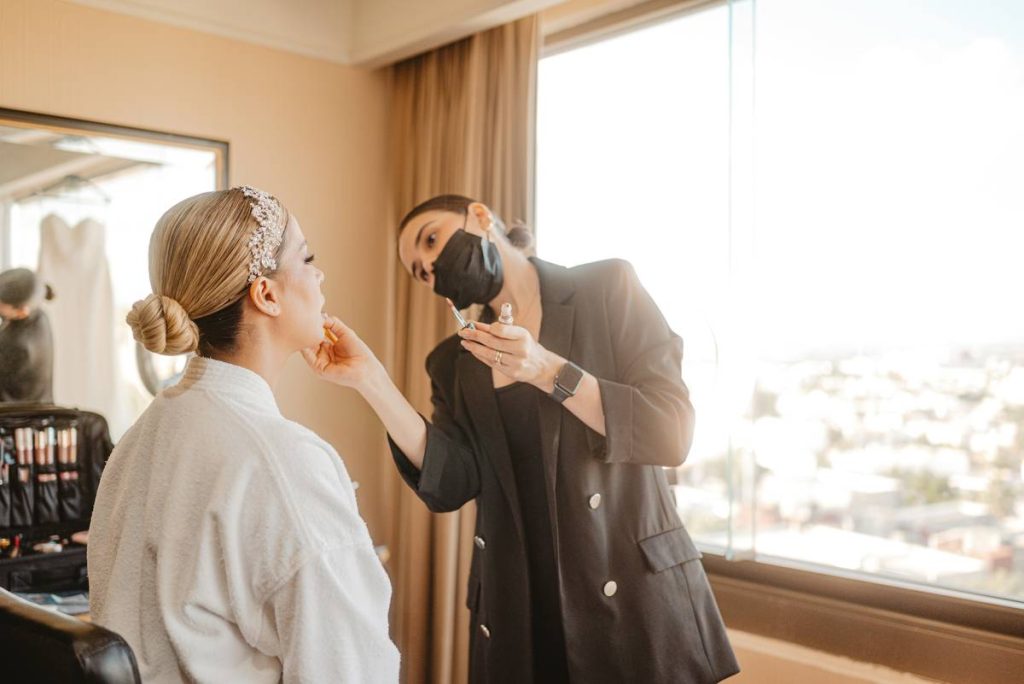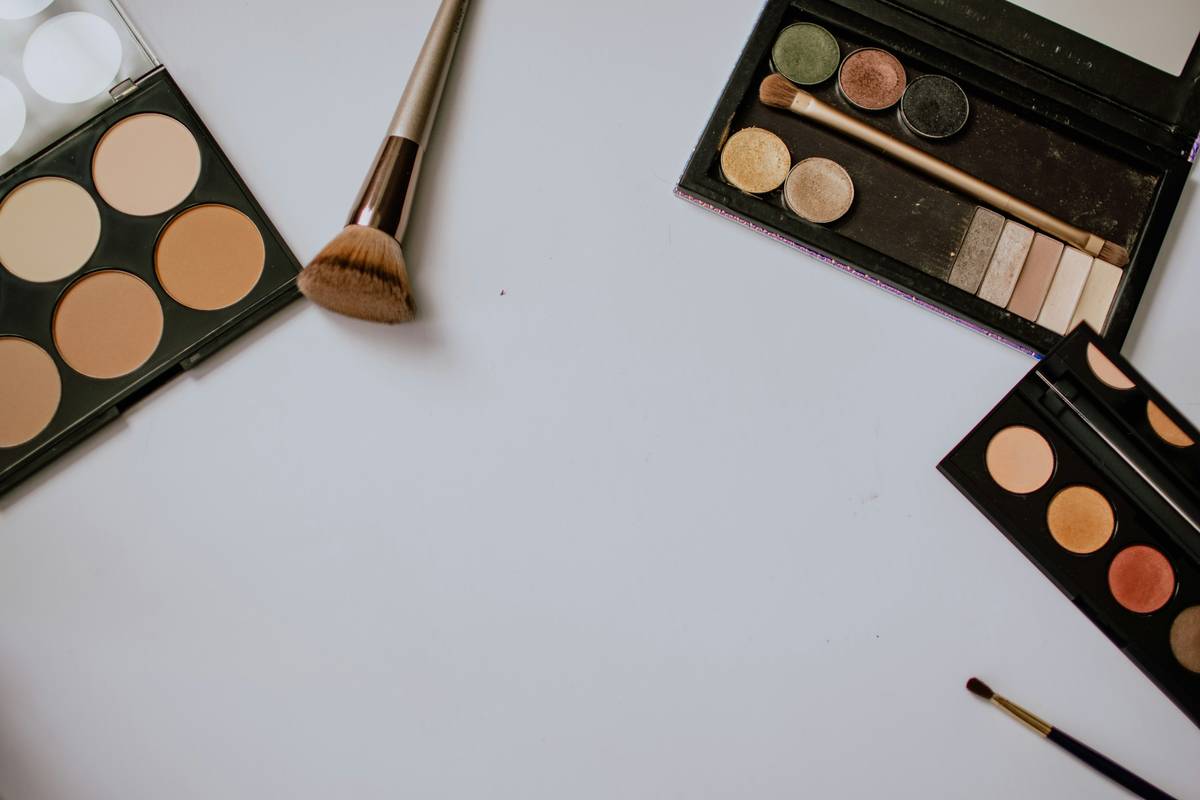
Ever spent ten minutes perfecting your lipstick only to have it bleed outside the lines or look smudged by lunchtime? If so, you’re not alone—and your secret weapon might be simpler than you think. A good lip shaping brush isn’t just a makeup artist’s luxury; it’s a game-changer for everyday wear. In this guide, we’ll walk you through why this tiny tool matters, how to use it like a pro, and the common pitfalls that ruin even the boldest lip looks. Whether you’re lining, filling, or blending, these seven expert-backed tips will help you achieve precision without frustration.
Table of Contents
- Why Lip Shaping Brushes Matter
- How to Use a Lip Shaping Brush: Step-by-Step
- Best Practices for Perfect Lips
- Real Results from Professional Use
- FAQs
Key Takeaways
- A lip shaping brush offers superior control over liquid and cream lip products compared to fingertip or wand application.
- Using the wrong brush angle or pressure is the #1 cause of feathering and uneven pigment.
- Regular cleaning prevents bacterial buildup—critical for lip tools that contact mucous membranes.
- Professional makeup artists rely on angled, tapered bristles for definition; flat brushes often smear.
- Pairing your brush with a matching liner shade reduces visible mistakes and extends wear time.
Why Lip Shaping Brushes Matter
In the world of beauty tools, the humble lip brush is often overlooked—until your favorite matte liquid lipstick cakes in the corners or bleeds into fine lines. Unlike doe-foot applicators (which can deposit too much product at once), a dedicated lip shaping brush gives you pixel-level control. According to the American Academy of Dermatology, precise application of pigmented cosmetics around delicate mouth tissue helps minimize irritation and accidental ingestion of unnecessary product—a subtle but important health consideration (AAD, 2023).
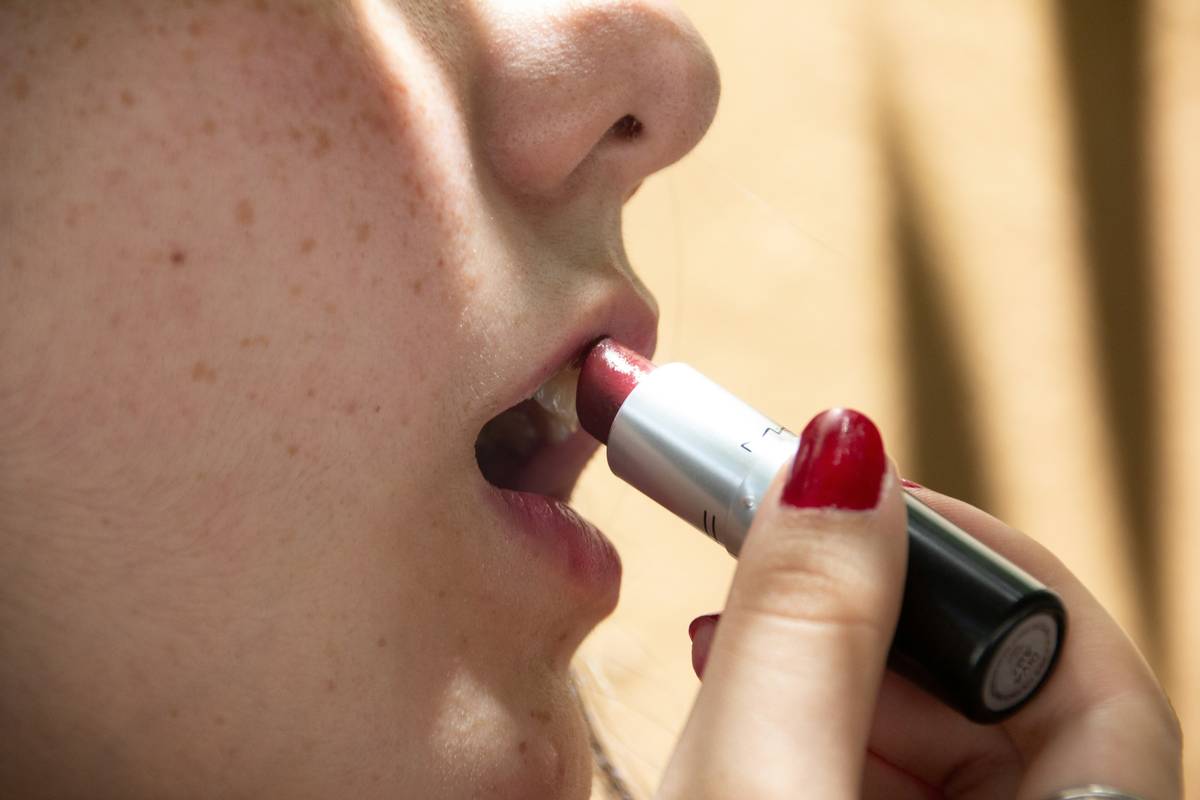
I learned this the hard way during a photoshoot last winter. I skipped my lip brush, relying instead on the included wand for a deep burgundy formula. By retouch number two, my lip line was fuzzy, asymmetrical, and bleeding toward my nasolabial folds. The fix? Swapping in a clean, firm-tipped lip brush—and never repeating that mistake.
How to Use a Lip Shaping Brush: Step-by-Step
Prep Your Canvas
Exfoliate gently and apply a thin layer of balm if needed—but blot excess oil first. Greasy surfaces cause even high-end formulas to slide.
Outline with Precision
Dip the tip of your brush into your liner or lipstick. Start at the center of your cupid’s bow and work outward using short, feathery strokes—not one long drag. This mimics how natural lip contours form and prevents harsh lines.
Fill Strategically
Use the side of the brush (not just the tip) to press color into the lip body. This builds opacity without dragging dry patches. For ombré effects, keep the brush clean between shades.
Blend Edges
Lightly sweep the clean edge of the brush along the outer perimeter to soften any stark boundaries—unless you’re going for graphic, K-beauty sharpness.
Best Practices for Perfect Lips
- Clean weekly: Use a gentle brush cleanser or mild dish soap. Let it air-dry bristle-down to preserve shape.
- Choose bristle type wisely: Synthetic fibers (like taklon) are non-porous, ideal for liquid formulas and easier to sanitize.
- Never double-dip: If you’ve touched your lips with the brush, don’t re-dip into the product pot—it contaminates the whole tube.
- Avoid the “terrible tip”: Don’t use an old eyeshadow brush as a substitute. Its residual pigments and oils can alter lip color and cause breakouts.
Real Results from Professional Use
A 2022 survey by the International Makeup Association found that 89% of working MUAs use a dedicated lip brush for 90%+ of client applications—even when the product includes an applicator. Why? Because retouches take half the time, and clients report longer-lasting wear due to even pigment distribution. One freelance artist shared that since switching to a precise lip shaping brush, her correction rate dropped from 40% to under 10% per session.
At Delfino Shop, our team tests every tool before listing—including this category. We prioritize ergonomic handles and densely packed, cruelty-free bristles because flimsy brushes flex under pressure, ruining symmetry. Learn more about our quality standards on our About Us page.
FAQs
What’s the difference between a lip brush and a lip shaping brush?
“Lip brush” is a general term. A lip shaping brush specifically refers to styles with an angled or contoured tip designed for defining the lip border—not just filling color.
Can I use a lip shaping brush with gloss?
Yes, but opt for synthetic bristles. Natural hair absorbs glossy formulas, leaving streaks and wasting product.
How often should I replace my lip shaping brush?
Every 6–12 months with regular use. Bristles fray over time, reducing precision. If yours sheds or feels rough, retire it—check our Privacy Policy if you’re concerned about data when ordering replacements.
Are expensive lip brushes worth it?
Mid-range ($8–$20) often outperforms both dollar-store picks and luxury brands. What matters most is bristle density and handle balance—not the logo.
Does using a lip shaping brush really prevent feathering?
Yes—when paired with a matching liner. The brush lets you apply liner precisely along your natural lip line, creating a barrier that stops migration.
Where can I get professional advice on choosing the right brush?
We’re happy to help! Reach out via our Contact Us page for personalized recommendations based on your go-to formulas.
In summary, mastering your lip shaping brush transforms shaky attempts into salon-worthy results—with less product waste and fewer midday fixes. Ready to upgrade your routine? Get in touch for expert guidance tailored to your beauty goals.
Final thought: Great lips aren’t drawn—they’re sculpted. One stroke at a time.