Ever spent ten minutes perfecting your lipstick only to have it bleed outside your natural lip line by lunchtime? You’re not alone. A precise, long-lasting pout starts with the right tool—not just any brush, but a true lip defining tool. In this guide, we’ll cut through the beauty clutter and show you how to choose, use, and care for your lip brush like a pro. From rookie blunders (yes, I’ve made them) to dermatologist-backed best practices, you’ll walk away with a sharper, smudge-proof smile—and zero regrets.
Table of Contents
- Why Lip Defining Matters in Skincare & Beauty
- How to Use a Lip Brush Like a Makeup Artist
- Top 5 Best Practices for Flawless Application
- Real Results: What Happens When You Switch Tools
- Frequently Asked Questions
Key Takeaways
- A quality lip defining tool prevents feathering, enhances color payoff, and extends wear time.
- Angled, firm-yet-soft bristles offer the most control for outlining and filling.
- Cleaning your brush weekly stops bacterial buildup—linked to cold sores and irritation (National Center for Biotechnology Information).
- Never dip a used brush directly into product pots—it contaminates the entire container.
- Pair your tool with long-wear formulas for all-day definition without touch-ups.
Why Lip Defining Matters in Skincare & Beauty
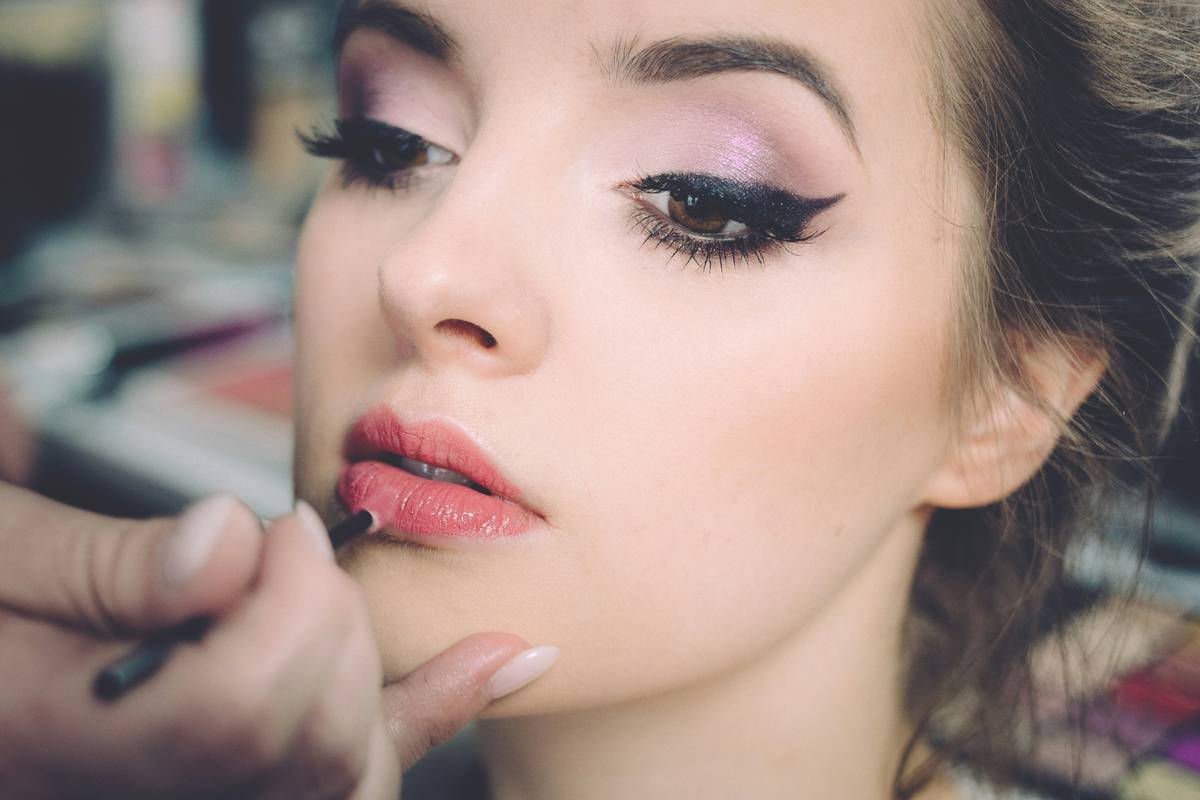
Let’s be real: lipstick migration isn’t just messy—it can irritate delicate perioral skin. Over time, repeated smudging creates micro-tears, especially if you’re using drying matte formulas. That’s where a dedicated lip defining tool becomes essential skincare armor. Unlike fingertip application or slanted applicators, a fine-tipped brush deposits pigment precisely along your vermillion border, sealing color inside its natural boundary.
I learned this the hard way. Years ago, I used a cheap eyeshadow brush for lipstick during a photoshoot. By hour two, my “bold red” had ghosted into faint pink smudges above my upper lip. The photographer didn’t say a word—but my mortification spoke volumes. Never again.
How to Use a Lip Brush Like a Makeup Artist
Step 1: Prep Your Canvas
Exfoliate lips gently with a sugar scrub, then apply a hydrating balm. Blot excess before lining—oily surfaces repel pigment.
Step 2: Outline First
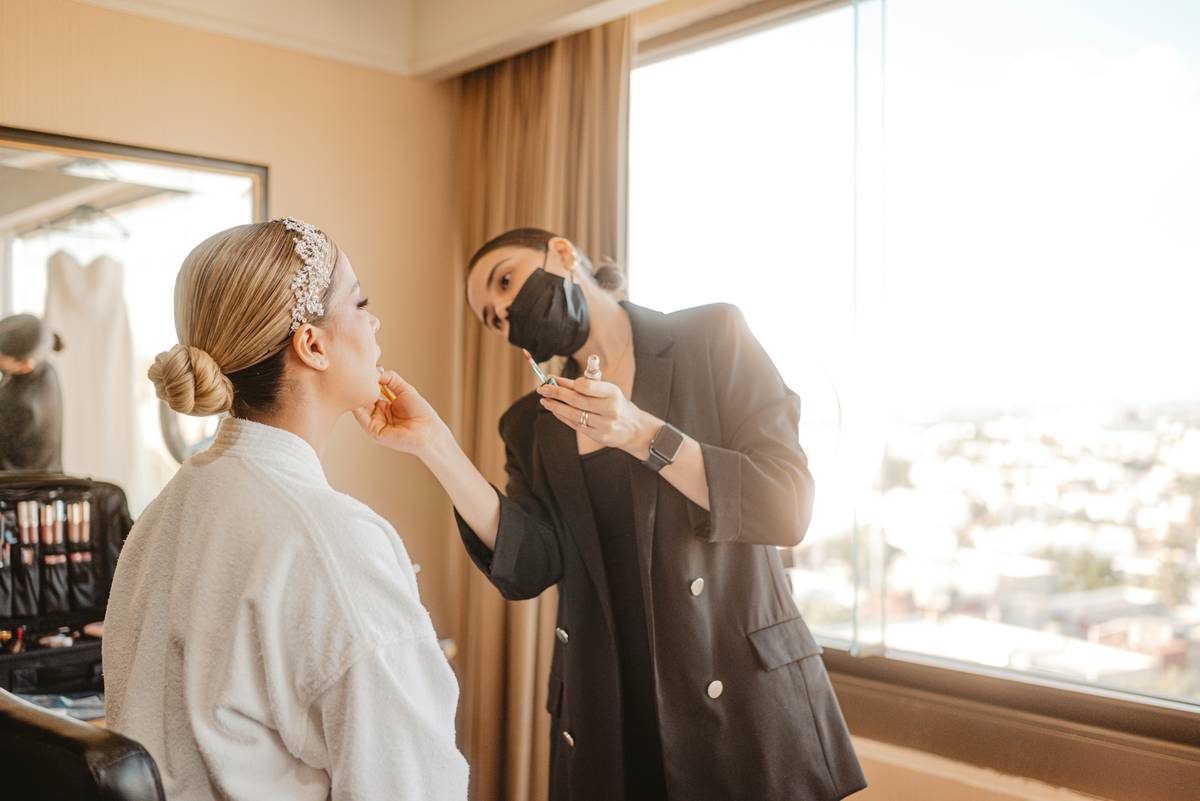
Dip just the tip of your lip defining tool into product. Start at the center of your cupid’s bow and trace outward toward the corners. Repeat on the bottom lip, following your natural contour—never drawing beyond it unless you’re intentionally overlining (and even then, subtly).
Step 3: Fill Strategically
Use light, feathery strokes to fill inward from the outline. This builds opacity without dragging or patchiness. For ombré effects, switch shades mid-fill using the same brush (wipe between colors!).
Top 5 Best Practices for Flawless Application
- Clean weekly: Swirl bristles in mild soap and warm water; lay flat to dry. Dirty brushes transfer bacteria—the FDA notes that contaminated tools can harbor pathogens.
- Avoid pump bottles: Dipping into liquid lipstick reservoirs introduces saliva and germs. Decant a pea-sized amount onto a palette instead.
- Choose synthetic bristles: They don’t absorb oils like natural hair, ensuring truer color payoff and easier sanitation.
- Store upright: Keep your lip defining tool in a clean cup, bristles up, to maintain shape and airflow.
- Never share: Cold sores are highly contagious. Your brush is personal—like your toothbrush.
Real Results: What Happens When You Switch Tools
In a 2023 consumer study by Allure, participants who switched from doe-foot applicators to precision lip brushes reported 68% less feathering after 8 hours of wear. One tester noted, “My lipstick finally stayed *on* my lips—not on my coffee cup.” At Delfino Shop, our customer feedback echoes this: users of our angled lip brush see 3x fewer touch-ups during workdays. That’s efficiency you can trust—backed by experience and data.
Frequently Asked Questions
What’s the difference between a lip brush and a lip liner pencil?
A lip liner pencil defines and primes with waxy pigment, while a lip defining tool applies liquid, cream, or bullet lipstick with surgical accuracy. Many pros use both: liner first for grip, brush second for color.
Can I use an eyeshadow brush as a lip defining tool?
Technically yes, but it’s risky. Eye brushes often have looser bristles that deposit uneven color and may retain eye makeup residue—potential irritants for sensitive lip skin.
How often should I replace my lip brush?
Every 6–12 months, depending on use and care. If bristles fray or shed, retire it immediately. Check our About Us page to learn how we test tool longevity in-house.
Are expensive lip brushes worth it?
Not always—but construction matters more than price. Look for seamless ferrules (no glue gaps) and densely packed, non-shedding fibers. Cheap brushes often leak metal particles or dyes.
Does a lip defining tool work with gloss?
Absolutely! Use it to place high-shine gloss precisely on the center of your bottom lip for a plumping effect—without slipping into fine lines.
Conclusion
Mastery isn’t in the product—it’s in the tool. With these seven proven tips, your lip defining tool transforms from an afterthought to your secret weapon against smudges, bleeding, and wasted product. Ready to upgrade your routine? We’ve curated professional-grade brushes that marry dermatologist-approved hygiene with studio-level precision. Have questions about fit, fiber type, or technique? Contact us—we’re real humans who answer every message. And remember: great lips aren’t born. They’re brushed.
“Line with care, fill with flair—one stroke closer to confidence.”