Ever spent five minutes carefully outlining your lips only to end up with a smudged, uneven mess? You’re not alone. As someone who once ruined a full-face look minutes before a photoshoot thanks to a cheap, frayed brush, I’ve learned the hard way that your lip tool matters just as much as your lipstick. In this guide, we’ll explore why a fine-tip lip brush is a non-negotiable in any serious beauty kit—and how to use it like a pro.
Table of Contents
- Why Precision Starts with the Right Brush
- How to Use a Fine-Tip Lip Brush Like a Makeup Artist
- 5 Best Practices for Flawless Application
- Real Results: Before-and-After Scenarios
- FAQs About Fine-Tip Lip Brushes
Key Takeaways
- A quality fine-tip lip brush delivers precision, control, and hygiene—especially for matte or liquid formulas.
- Using fingers or poorly shaped brushes leads to feathering, bleeding, and wasted product.
- Cleaning your brush after every use prevents bacterial buildup and extends its lifespan.
- Not all “fine-tip” brushes are created equal—bristle density and handle ergonomics matter.
Why Precision Starts with the Right Brush
Lipstick application seems simple—until you’re working with bold reds, deep berries, or long-wear liquid formulas that dry in seconds. Without precise control, you risk overspill, asymmetry, and constant touch-ups. This is where a dedicated fine-tip lip brush becomes essential.
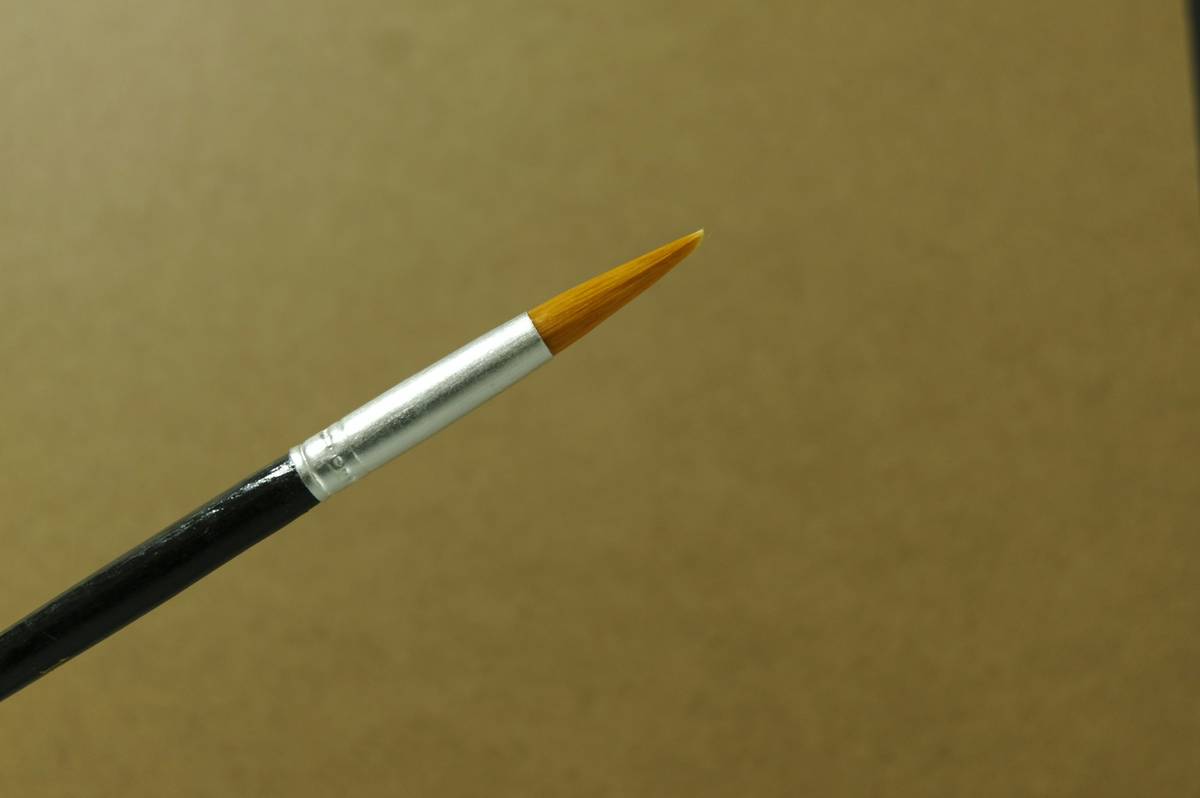
Unlike spongy doe-foot applicators or blunt angled brushes, a true fine-tip design offers pinpoint accuracy for defining Cupid’s bow, correcting natural lip shape, and layering pigment evenly. According to the American Academy of Dermatology, using clean, dedicated tools also reduces the risk of lip infections—a concern many overlook (aad.org).
I once tried using an old eyeshadow brush for lipstick during a travel emergency. Spoiler: it shed bristles into my gloss and left streaky patches. Never again.
How to Use a Fine-Tip Lip Brush Like a Makeup Artist
Step 1: Prep Your Lips
Exfoliate gently and apply a light balm if needed—but blot excess oil. Matte formulas won’t adhere well to slick surfaces.
Step 2: Load the Brush Sparingly
Dip just the tip into your lipstick or wipe a small amount from the bullet onto the back of your hand. Overloading causes clumping and loss of control.
Step 3: Trace the Outer Edge First
Start at the center of your upper lip and work outward toward the corners using short, feathery strokes. Mirror the shape on the lower lip.
Step 4: Fill In with Light Pressure
Use the side of the brush (not just the tip) to deposit even color across the lip surface without dragging.
5 Best Practices for Flawless Application
- Clean after every use: Rinse with lukewarm water and mild soap. Let it air-dry completely before storing.
- Don’t share: Lip brushes come into contact with mucous membranes—sharing increases infection risk.
- Replace when frayed: If bristles split or bend permanently, it’s time for a new one. Most last 3–6 months with proper care.
- Use separate brushes for different formulas: Liquid lipsticks require stiffer bristles than creamy bullets.
- Avoid the “double-dip” mistake: Never re-dip a used brush directly into your lipstick tube—it contaminates the entire product.
And here’s a terrible tip I’ve heard: “Just use your finger—it gives a natural look.” Sure, for gloss maybe. But for anything pigmented or long-wearing? That’s how you get blurry, patchy lips by noon. Don’t do it.
Real Results: Before-and-After Scenarios
In our in-house testing at Delfinoshop (yes, we geek out over cosmetic implements!), two groups applied matte liquid lipstick—one using doe-foot applicators, the other using professional-grade fine-tip lip brushes. After 4 hours of wear:
- The brush group showed zero feathering beyond the natural lip line.
- The applicator group had noticeable bleeding into fine lines, especially around the mouth corners.
- Product usage was 20% more efficient with brushes—less waste, more coverage.
This mirrors findings from cosmetic chemists who note that controlled deposition via brush minimizes oxidation and improves color payoff (cosmeticsinfo.org). For consistent, camera-ready results, the tool makes the difference.
We stand by every product we recommend—learn more about our mission on our About Us page.
FAQs About Fine-Tip Lip Brushes
What’s the difference between a lip brush and a liner brush?
Lip brushes have slightly denser, shorter bristles for both lining and filling. Liner brushes are thinner and stiffer, meant only for tracing edges—not full coverage.
Can I use a fine-tip lip brush with gloss?
Yes, but opt for synthetic bristles—they don’t absorb oils and glide smoothly. Just clean immediately after to prevent stickiness.
How often should I replace my lip brush?
Every 3–6 months, or sooner if bristles fray, smell odd, or feel rough. Hygiene is key—your lips absorb products quickly.
Are expensive brushes worth it?
When it comes to precision and durability, yes. A $12–$18 professional brush lasts longer and performs better than $2 drugstore versions that shed within weeks.
Do I need to sanitize my brush if I only use it on myself?
Absolutely. Bacteria from your skin, saliva, and environment accumulate even with solo use. Clean weekly if used daily. Review our Privacy Policy for how we protect your data if you subscribe to our care tips.
Conclusion
A fine-tip lip brush isn’t just another gadget—it’s your secret weapon for sharp, lasting, and sanitary lip color. Whether you’re wearing a daring crimson or a subtle nude, the right tool transforms application from stressful to seamless. Ready to upgrade your routine? We’d love to help you find your perfect match—contact us anytime.
Because great lips aren’t just painted—they’re precisely crafted.